
Safety Razor blades go through a multi-stage process to transform them from a roll of stainless steel into the sharpened individual blades we use every day.
A basic outline of the process:
- Create the Blank
- Temper the Steel
- Print the logo
- Grind and Polish
- Chrome and Non-stick Coating applied
- Packing
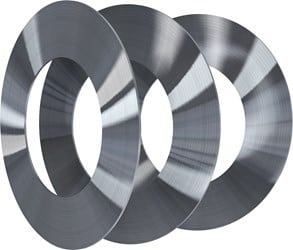
Creating The Blank
The Blades begin life as a roll of stainless steel 1/10th of a millimetre thick. This roll is fed into a stamping machine which punches out the basic blade shape that is so recognisable.
At the moment, the formed pieces are not sharp so the term ‘blank‘ is used to describe the current state.
Tempering The Steel
The metal is soft and malleable so a tempering process is required to create strength. Tempering is usually a four-stage process.
- Heating to 1100 degrees Celcius for 30 seconds.
- Quenching the blanks in cold water.
- Flash cooling at -50 degrees Celcius in a deep freezer chamber.
- Final heating to restore flexibility.
Printing
Now the blanks have been tempered to retain strength and flexibility, they move along to the printing process.
The brand and logo is applied here if required, and then the blank roll moves through a set of gas burners to dry any wet ink.
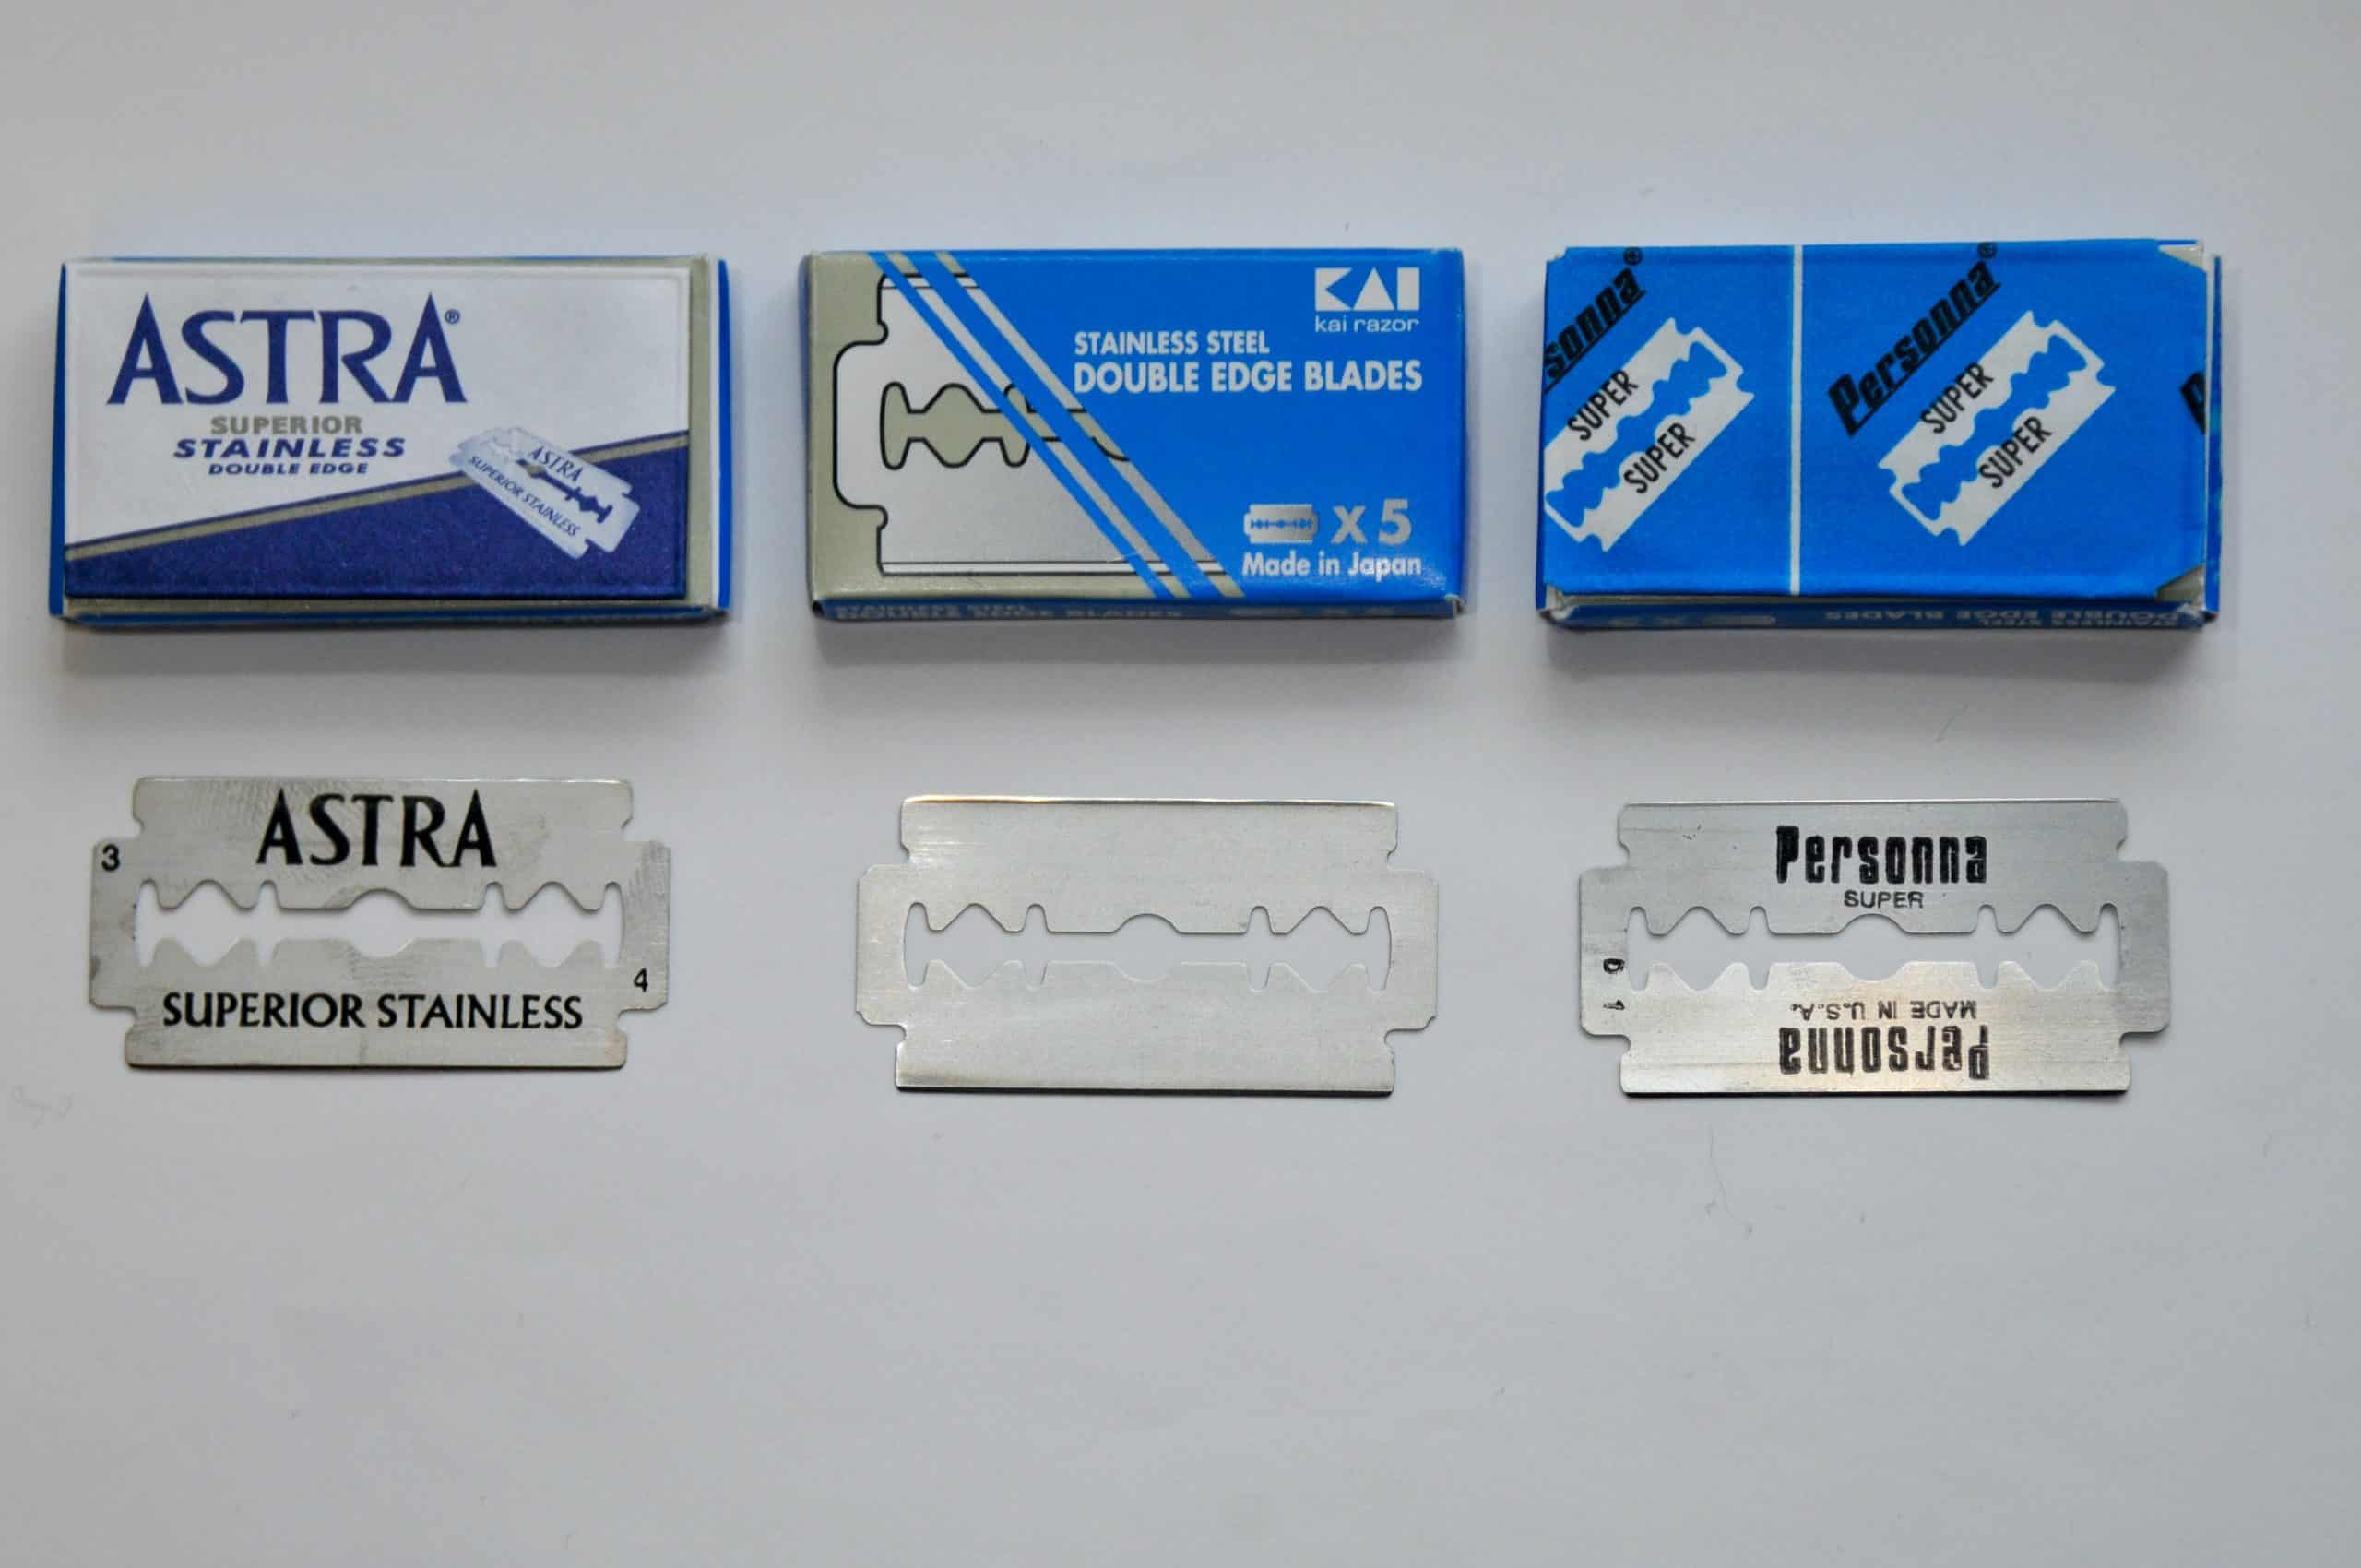
Why do some blades have numbers printed on them?
You may have noticed that some blades also have numbers printed on them. This numbering system is part of the quality control process and is used to identify the grinding machine used for each side. If a blade fails a quality inspection, the numbers help identify which machine needs adjustment to rectify any problems.
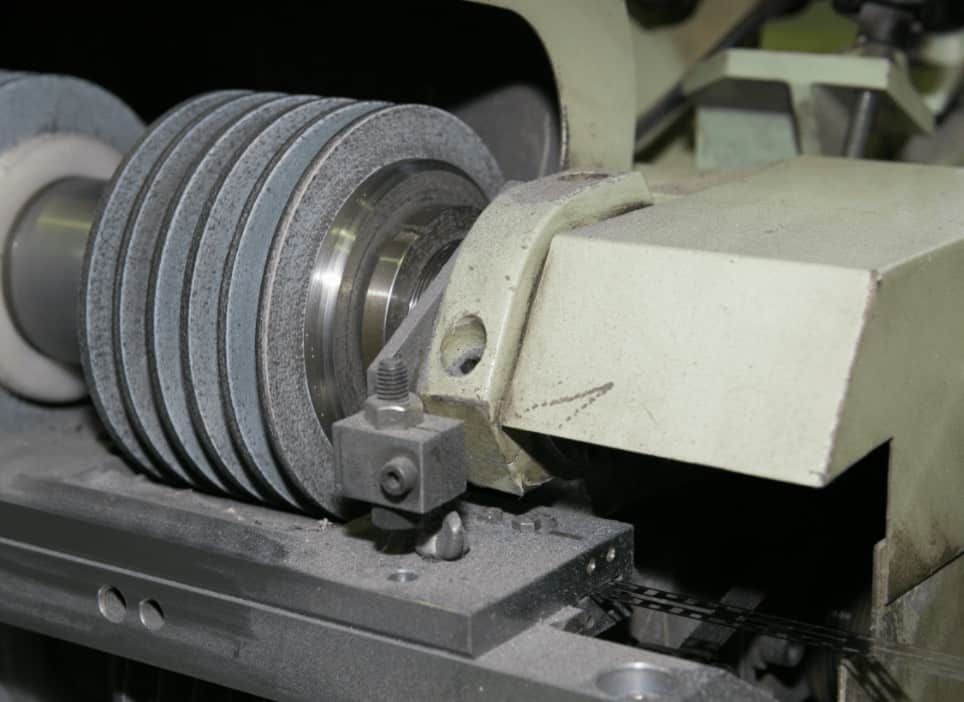
Grinding and Polishing
After printing, the blanks will be turned into blades by entering the grinding and polishing stage. First, the roll passes through a grinder. The machine contains three whetstones. Course, medium and fine grades. This will set the bevel and sharpen the blade edge. By sharpening, a bur is created on the edge in the same way as sharpening a straight razor. The polishing machine contains various leather strops which will remove the bur, creating the finished edge.
Separating The Blades
Now our blanks have become blades it’s time to remove them from the roll of steel. This is done by passing through another machine which has a knife attachment set to cut the blades into individual pieces.
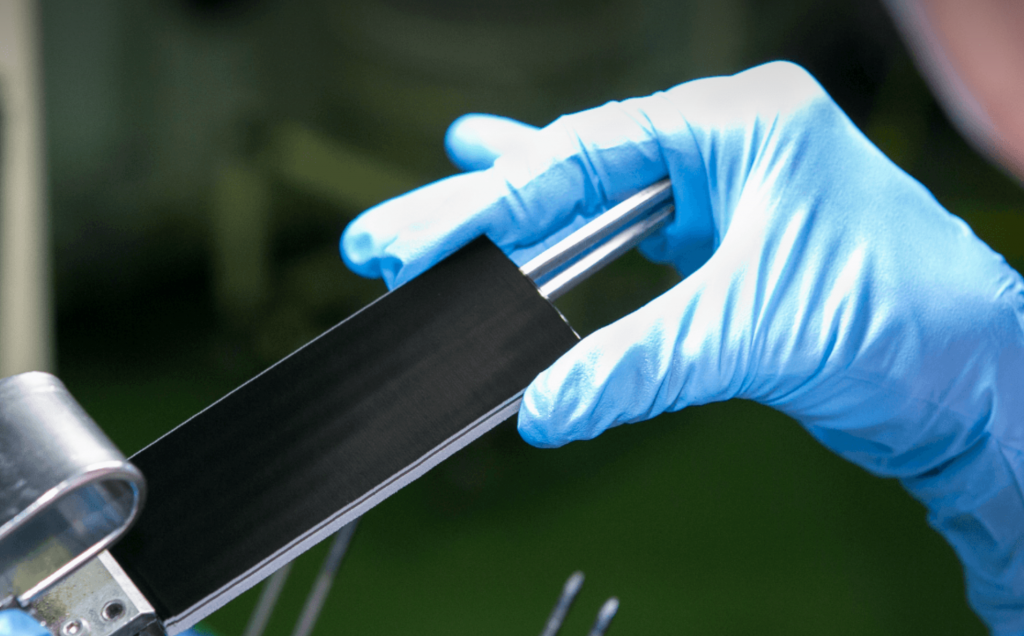
Quality Inspection
Our individual blades are passed to a Quality Inspector who will randomly select some samples and use a microscope to check the grind and cutting edge geometry. A further edge check is then done by shining a fluorescent light onto the cutting edge of each blade to check for defects. A sharp edge will not reflect light and in fact, will appear to be black as can be seen in the photo below. If any part of the edge reflects light or looks shiny then the defect will be easy to see.
Cleaning
Congratulations humble blade, you have passed Quality Control and are on your way to being sold. After quality checks, the blades are washed in a solvent bath to remove contaminants and then dried in hot air. The machine looks a bit like a washer/dryer but on an industrial scale. The vigorous cleaning is required in order for the next process, chromium coating, to work properly.
Chromium Coating
The purpose of a chromium plating on the surface of the blade is to ensure a smoother shave from the first use of the blade until the last. Previously a Teflon or PTFE coating was used but it was observed that the benefits of this coating didn’t start working until midway through the first use of the blade. The chromium plating system was developed to combat this.
The blades are put into a vacuum chamber to have the coating applied. This coating also increases the wear resistance on the cutting edge so the blade will last longer.
Non-Stick Coating
A thin layer of Teflon is sprayed on the blades and they are now baked for twenty minutes at 350 degrees Celsius. This baking time will permanently adhere the Teflon to the blade, allowing it to glide easier across the skin.
Quality Inspection
The blades are almost complete now just one more quality inspection and it will be time to package them. This inspection consists of a recording the force required to cut wet paper to a certain depth. After passing here it’s on to packing.
Packaging
Before the blades are packaged, they are submerged in organic oil for around thirty minutes. This will help to prevent corrosion while the blade is in storage. Onto the packing and each blade is individually wrapped in waxed paper. The wax paper has two jobs, it protects the blade against corrosion and because it is stronger than normal paper it also stops the sharp edge from cutting through the wrapper. The individually wrapped blades will then be packed into cardboard boxes or plastic trays, typically five or ten blades per box.